[ad_1]
Mastering the Basics: A Step-by-Step Guide to Creating a Business Gmail Account
In today’s digital age, email has become an essential tool for communication, especially in the business world. Having a professional email account is crucial for establishing credibility and maintaining a seamless communication flow with clients and colleagues. One of the most popular and reliable email platforms for businesses is Gmail. With its user-friendly interface, robust security features, and integration with various business tools, Gmail is the go-to choice for many entrepreneurs and organizations. In this article, we will provide a step-by-step guide on how to create a business Gmail account, allowing you to master the basics and take full advantage of this powerful email service.
Step 1: Choose a Domain
The first step in creating a business Gmail account is to choose a domain name. A domain name is the address that appears after “www” in a website URL, and having a personalized domain name adds professionalism and credibility to your email. If you already have a website, you can use your existing domain name for your email address. However, if you don’t have a domain name, you can register one with a domain registrar, such as GoDaddy or Namecheap. Make sure to choose a short, simple, and memorable domain name that aligns with your business and brand.
Step 2: Sign up for G Suite
G Suite is a package of cloud-based productivity and collaboration tools offered by Google, including Gmail, Google Drive, Google Docs, and more. It provides a comprehensive suite of business solutions that seamlessly integrate with your Gmail account. To sign up for G Suite, go to gsuite.google.com and click on “Get Started.” You will need to enter your domain name and basic business information. Choose the G Suite plan that suits your needs and follow the prompts to complete the registration process.
Step 3: Verifying Domain Ownership
After signing up for G Suite, you will need to verify your domain ownership to prove that you are the authorized owner of the domain. This step ensures the security and privacy of your email account. Google provides several verification methods, including adding a DNS TXT record, adding a meta tag to your website’s HTML code, or uploading an HTML file to your website’s server. Choose the verification method that you find most convenient and follow the provided instructions to complete the process.
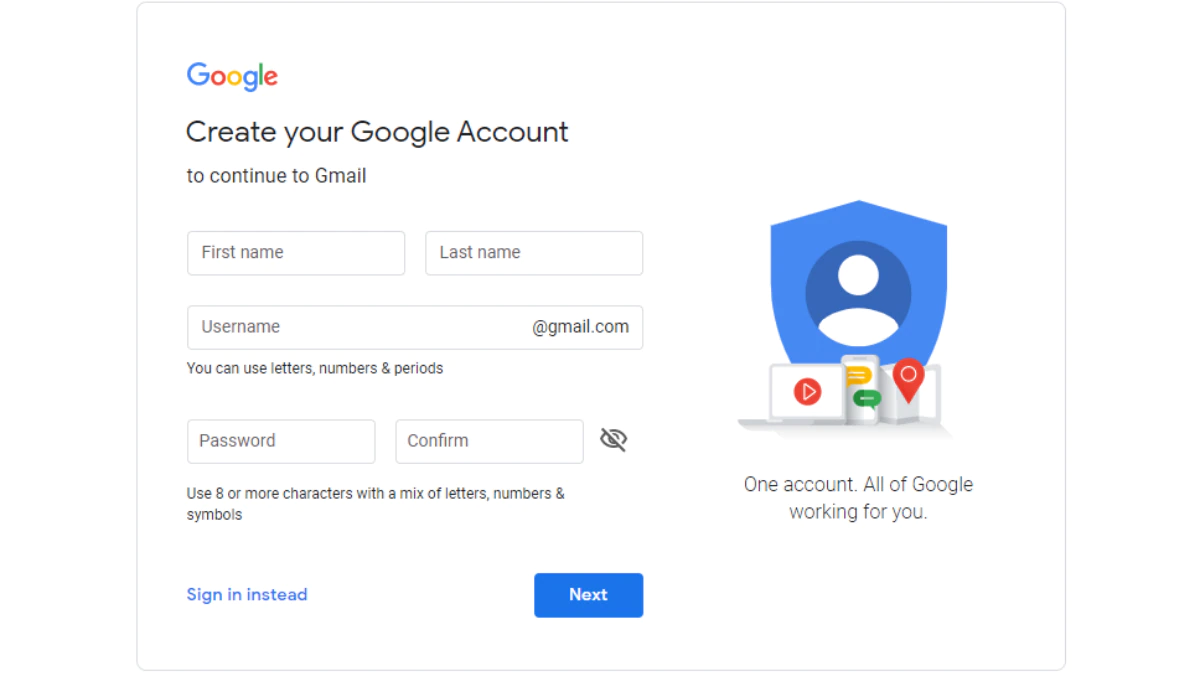
Step 4: Setting Up Gmail Account
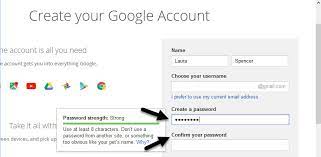
Once you have verified domain ownership, it’s time to set up your business Gmail account. Go to gmail.com and click on “Create account.” Enter your business name, desired email username (usually yourname@yourdomain.com), and create a strong password. Make sure to choose a professional username that aligns with your brand and avoids generic terms or personal references. Complete the required information, such as phone number and recovery email, and click “Next.”
Streamline Your Business Communications with the All-New Gmail Business Account
Step 5: Customize Inbox and Security Settings
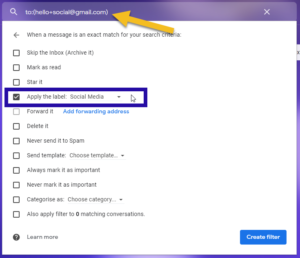
After creating your Gmail account, it’s important to customize the settings to suit your business needs. Go to Gmail Settings by clicking on the gear icon in the top right corner, then click on “Settings.” Here, you can personalize your inbox appearance, set up email signatures, configure automatic replies, and manage filters and labels to organize your emails effectively. Additionally, explore the account and security settings to enable two-step verification, add recovery options, and implement other security measures to protect your account and sensitive information.
Step 6: Integrate with G Suite Tools
One of the key advantages of creating a business Gmail account is the seamless integration with other G Suite tools. To take full advantage of these tools, explore the G Suite dashboard, accessible through your Gmail account. From here, you can access and set up various applications like Google Drive, Google Docs, Google Sheets, Google Calendar, and more. These tools will enhance your productivity, collaboration, and overall business operations by providing efficient and reliable solutions for document management, project tracking, and team communication.
Step 7: Utilize Business Gmail Features
Gmail offers a wide range of features designed specifically for businesses. Familiarize yourself with these features to maximize your productivity and efficiency. Features such as priority inbox, email filtering, smart replies, and canned responses can help you manage your inbox more effectively and save time. Explore the powerful search capabilities to quickly find specific information, and use the labels and folders to organize your emails based on projects, clients, or any other relevant categories. Experiment with the different settings and features to create a tailored email experience that suits your business requirements.
In conclusion, creating a business Gmail account is a crucial step towards establishing a professional online presence and streamlining your communication workflow. By following this step-by-step guide, you can easily master the basics and take full advantage of the robust features that Gmail offers. Remember to customize your settings, integrate with G Suite tools, and utilize the various business-focused features to optimize your email experience. With a well-managed business Gmail account, you are well on your way to enhancing your productivity, credibility, and overall success in the digital business world.
[ad_2]