[ad_1]
The Ultimate Guide: Step-by-Step Instructions to Create a Professional Google Business Email
In today’s digital age, having a professional email address is essential for any business. Google Business Email offers a range of features and benefits that can help streamline your communication and enhance your professional image. In this ultimate guide, we will provide you with step-by-step instructions to create a professional Google Business Email.
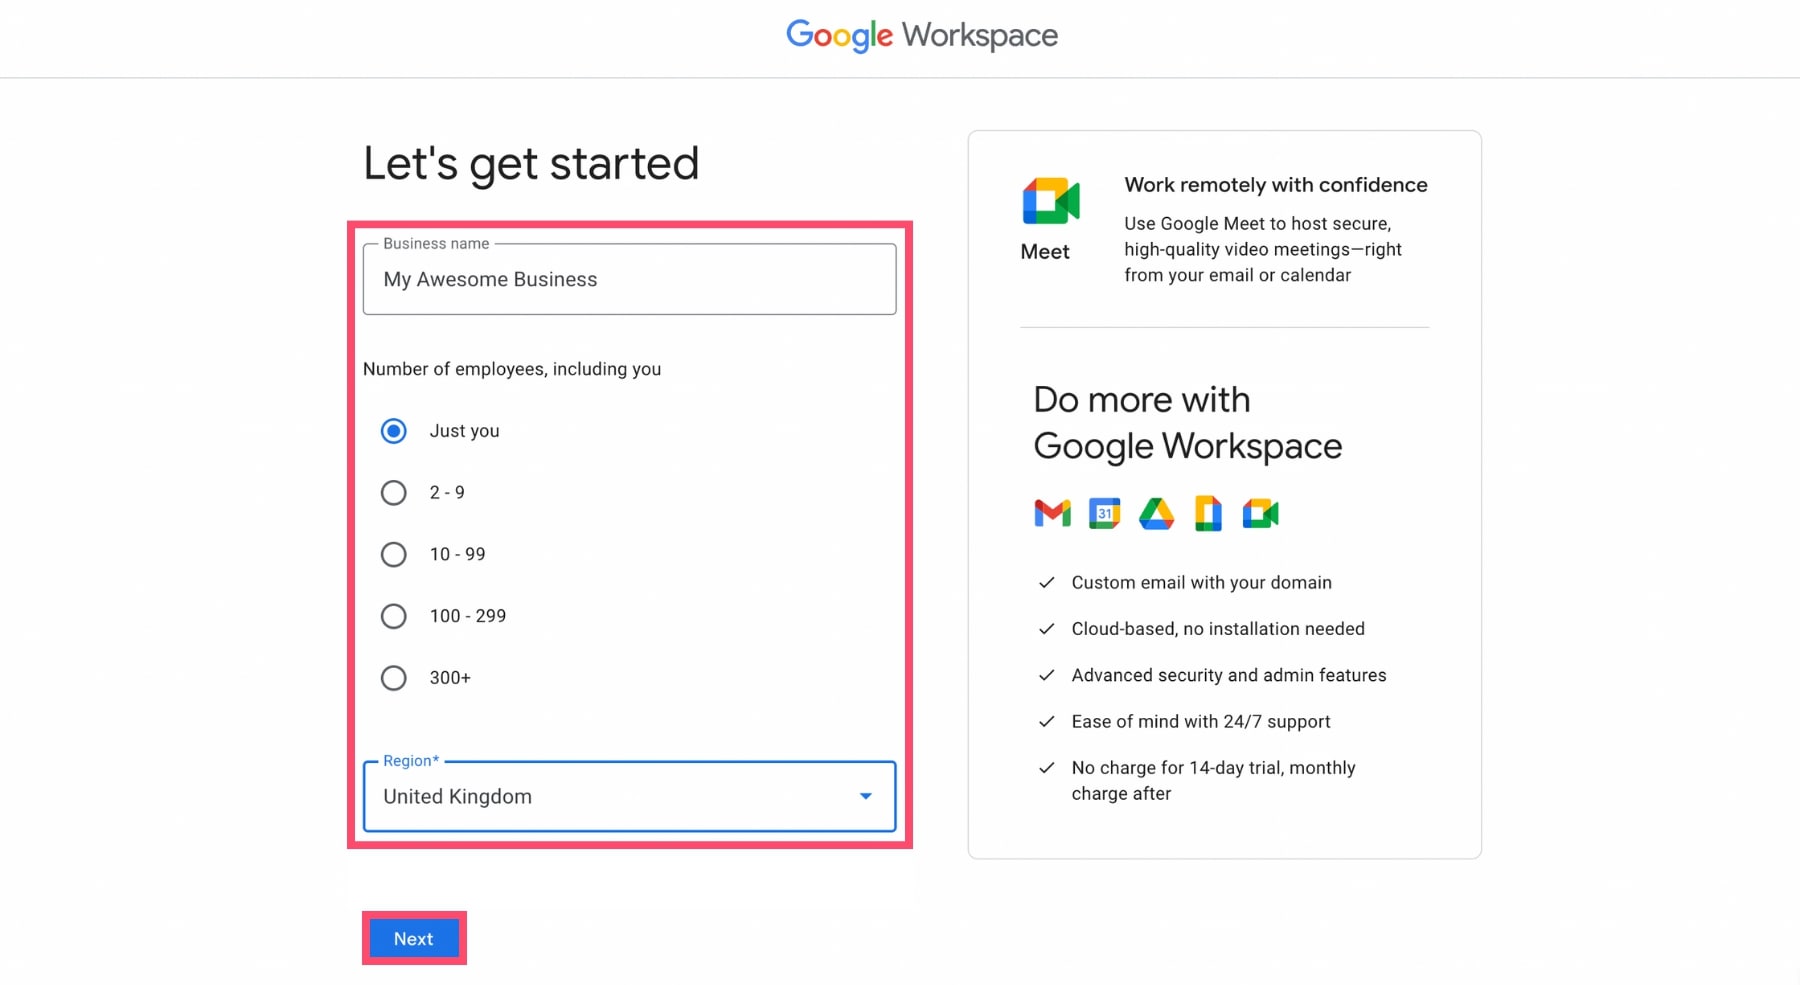
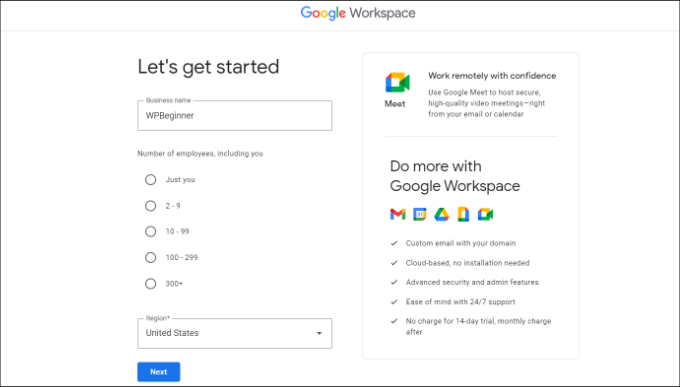
Step 1: Sign up for Google Workspace
The first step in creating a professional Google Business Email is to sign up for Google Workspace. Google Workspace is a cloud-based productivity suite that includes a variety of tools such as Gmail, Google Drive, and Google Calendar. To sign up, go to the Google Workspace website and select the plan that best suits your business needs. Fill in the required information and proceed to the payment page.
Step 2: Choose a domain name
Once you have signed up for Google Workspace, you will need to choose a domain name for your business email address. A domain name is the web address that people will use to access your website or email. It should reflect your brand and be easy to remember. You can register a domain name through a domain registrar such as GoDaddy or Google Domains.
Mastering Professional Email Etiquette: Insider Tips from Google
Step 3: Verify your domain
After choosing your domain name, you will need to verify that you own the domain. This is done by adding a verification record to your domain’s DNS settings. Google Workspace will provide you with the necessary instructions and verification code, which you will need to enter into your domain registrar’s settings. Once the verification is complete, you can proceed to set up your Google Business Email.
Step 4: Set up your Gmail account
To create a Google Business Email, you will need to set up a Gmail account using your domain name. Go to the Google Workspace admin console and sign in with your Google Workspace account. Click on “Apps” and then “G Suite.” From there, you can select “Gmail” and follow the prompts to set up your email account. Be sure to choose a professional username that reflects your business.
Step 5: Configure your email settings
Once your Gmail account is set up, you can customize your email settings to suit your needs. This includes setting up a professional email signature, adding email aliases, and creating filters to manage your incoming emails effectively. You can also configure settings such as spam filters and vacation responder.
Step 6: Integrate with other tools
Google Business Email integrates seamlessly with other Google Workspace tools, making it easy to collaborate and communicate with your team. You can sync your email with Google Calendar to schedule meetings and events, share files and documents using Google Drive, and use Google Meet for video conferencing. Take advantage of these features to streamline your workflow and enhance productivity.
Step 7: Mobile setup
To access your Google Business Email on your mobile device, you can download the Gmail app from the Google Play Store or the App Store. Sign in to your account using your new professional email address and password. The app allows you to receive and send emails, access your contacts, and manage your calendar on the go.
Step 8: Security and data protection
Google Business Email prioritizes security and data protection. It offers features such as two-step verification, which adds an extra layer of protection to your account, and advanced spam filtering to keep your inbox free from unwanted emails. You can also set up data loss prevention policies to prevent confidential information from being leaked.
Step 9: Collaborate with your team
Google Business Email allows for seamless collaboration with your team. You can create shared mailboxes, where multiple people can access and respond to emails, and set up mailing lists for specific groups or departments. Use the Google Workspace admin console to manage user accounts and permissions, ensuring that everyone has the right access and privileges.
Step 10: Continuous support and updates
Google offers continuous support and updates for Google Business Email. You can access help resources and documentation through the Google Workspace Help Center, and contact Google support if you have any issues or questions. Stay up to date with the latest features and enhancements by regularly checking for updates.
In conclusion, creating a professional Google Business Email is a straightforward process that can greatly benefit your business in terms of professionalism, productivity, and collaboration. By following these step-by-step instructions, you can set up your Google Business Email and enjoy the multitude of features and benefits it offers. Start today and take your business communication to the next level.
[ad_2]