[ad_1]
Step-by-Step Guide: Creating a Personalized Gmail Account with Your Custom Domain
In today’s digital world, having a personalized email account with your own custom domain has become a necessity, especially for individuals and businesses looking to establish a professional online presence. Gmail, being one of the most popular email service providers, allows users to create a personalized email address using their custom domain. In this step-by-step guide, we will walk you through the process of setting up a personalized Gmail account with your own custom domain.
Step 1: Choose a Domain Name
The first step is to choose a domain name that reflects your brand or personal identity. Ensure that the domain is available for purchase, and it aligns with your email communication goals.
Step 2: Register a Domain
Once you have selected a suitable domain name, it’s time to register it. There are numerous domain registrars available online, such as GoDaddy, Namecheap, and Google Domains. Choose a reputable registrar, create an account, and follow their instructions to register your chosen domain.
Step-by-step guide on creating a business Gmail account
Step 3: Sign up for a G Suite Account
To create a personalized Gmail account with your custom domain, you will need to sign up for a G Suite account. G Suite is a suite of cloud-based productivity and collaboration tools offered by Google. It includes Gmail, Google Drive, Google Docs, and other apps that enhance your email experience.
Visit the G Suite website and click on the “Get Started” button. Choose the edition that suits your needs, such as Basic, Business, or Enterprise. Enter your domain name during the signup process, and follow the instructions to complete the registration.
Step 4: Verify Your Domain
After signing up for a G Suite account, you will need to verify that you own the domain you registered in Step 2. Google will provide you with various verification methods, such as DNS verification or HTML file upload, depending on your domain registrar and setup. Follow the provided instructions to successfully verify your domain.
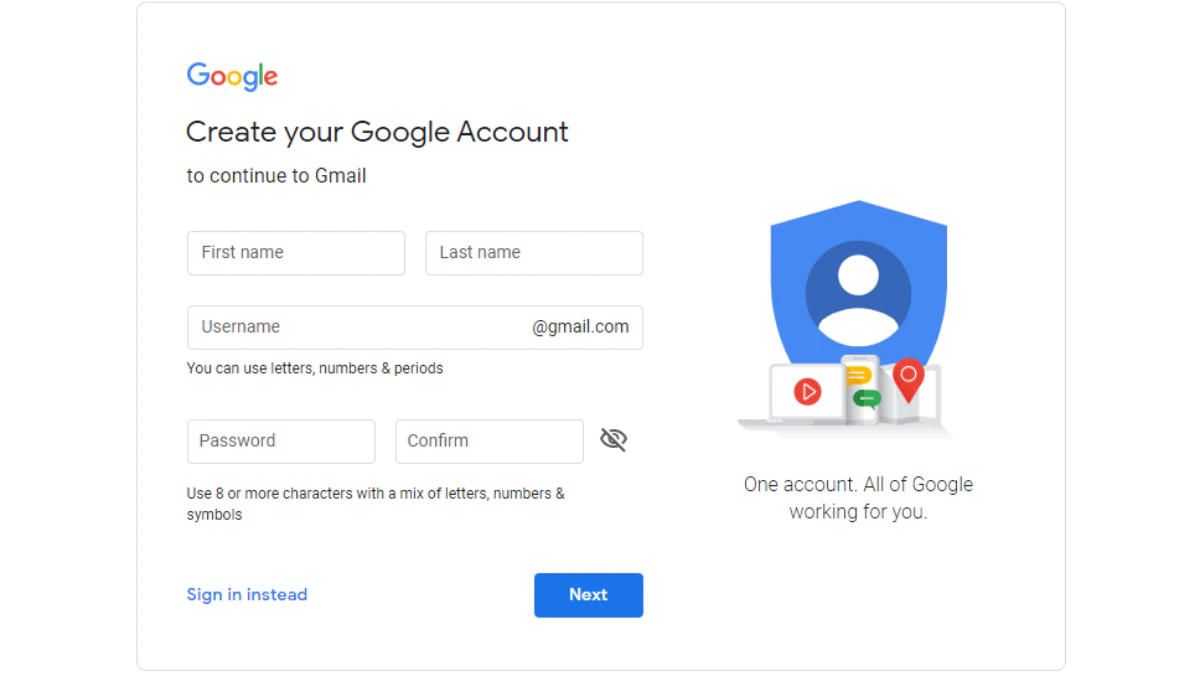
Step 5: Create a Gmail Account with Your Custom Domain
Once your domain is verified, it’s time to create your personalized Gmail account. Sign in to your G Suite account using the credentials you created during the registration process. Look for the Gmail option and click on it.
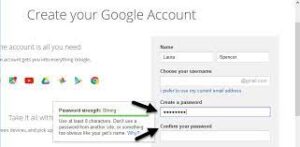
You will be taken to the Gmail setup page. Choose the option to create a new Gmail account, using your custom domain. Follow the on-screen instructions to set up your email address, including choosing a username and password.
Step 6: Configure Email Settings
After creating your Gmail account, you will need to configure the email settings. Go to the Gmail settings page and customize the appearance, signature, and other preferences according to your preferences.
If you want to use Gmail’s advanced features, such as email forwarding, aliases, or filters, explore the various options available in the settings menu. Take your time to familiarize yourself with the settings and make the necessary adjustments to optimize your email management.
Step 7: Set up Email Clients and Mobile Devices
To access your personalized Gmail account with your custom domain, you can use either the Gmail web interface or configure email clients and mobile devices. Gmail supports various protocols such as POP3 and IMAP, enabling you to set up your account on platforms like Microsoft Outlook or Apple Mail.
To configure your email client or mobile device, navigate to the settings page of your client or device and input the required information, such as your email address and password. Follow the instructions provided by your client or device to complete the setup process.
Step 8: Test and Start Using Your Personalized Gmail Account
The final step is to test your personalized Gmail account and start using it actively. Send a test email, both from your Gmail web interface and email client, to ensure that you can both send and receive emails successfully. Make any necessary adjustments if you encounter any issues.
Now that you have successfully created a personalized Gmail account with your custom domain, you can start leveraging the power of Gmail’s intuitive interface, robust features, and unparalleled reliability. Use this account for your personal or professional communications and experience the benefits of having a customized email address that sets you apart from the crowd.
In conclusion, creating a personalized Gmail account with your own custom domain is a straightforward and essential process in today’s digital landscape. By following this step-by-step guide, you can establish a professional online presence, build trust with your recipients, and enhance your communication capabilities. So, why wait? Create your personalized Gmail account today and take your email game to the next level!
[ad_2]