
[ad_1]
Step-by-Step Guide: How to Create a Gmail Account using Your Company Domain
Email is a crucial communication tool for businesses today, and having a professional email address that uses your company domain can enhance your brand and credibility. One popular option for setting up your professional email is by using Gmail, a widely-used email service by Google. In this step-by-step guide, we will walk you through the process of creating a Gmail account using your company domain.
Step 1: Choose a Domain Provider
Before you can create a Gmail account with your company domain, you need to have a registered domain. If you haven’t done so already, choose a reliable domain provider, such as GoDaddy or Namecheap. Consider factors like pricing, customer support, and additional features when making your decision.

Step 2: Create a CNAME record
Access your domain provider’s dashboard and locate the DNS settings for your domain. Look for the option to create a CNAME record. This record allows you to connect your domain with Google’s servers. Enter the required information, which usually consists of the subdomain “mail” or “email” and Google’s CNAME value.
Step 3: Verify Ownership
To ensure that you own the domain, Google requires you to verify ownership. Go to the Google Search Console and follow the steps to add your domain for verification. Choose the option to verify using the DNS record and input the TXT or CNAME value provided by Google. Once verified, you can proceed to set up your Gmail account.
Step 4: Sign up for G Suite
G Suite is a collection of Google’s productivity and collaboration tools specifically designed for businesses. It includes Gmail, Google Drive, Google Calendar, and more. To create a Gmail account using your company domain, sign up for a G Suite account. You will need to provide your company’s information, such as name and location, during the registration process.
Step 5: Set Up DNS MX Records
Now that you have signed up for G Suite, you need to configure your DNS MX Records to point to Google’s servers. Access your domain provider’s dashboard again and locate the MX Records settings. Delete any existing MX Records and add the MX Records provided by Google. These records ensure that your domain’s incoming emails are routed correctly to your Gmail account.
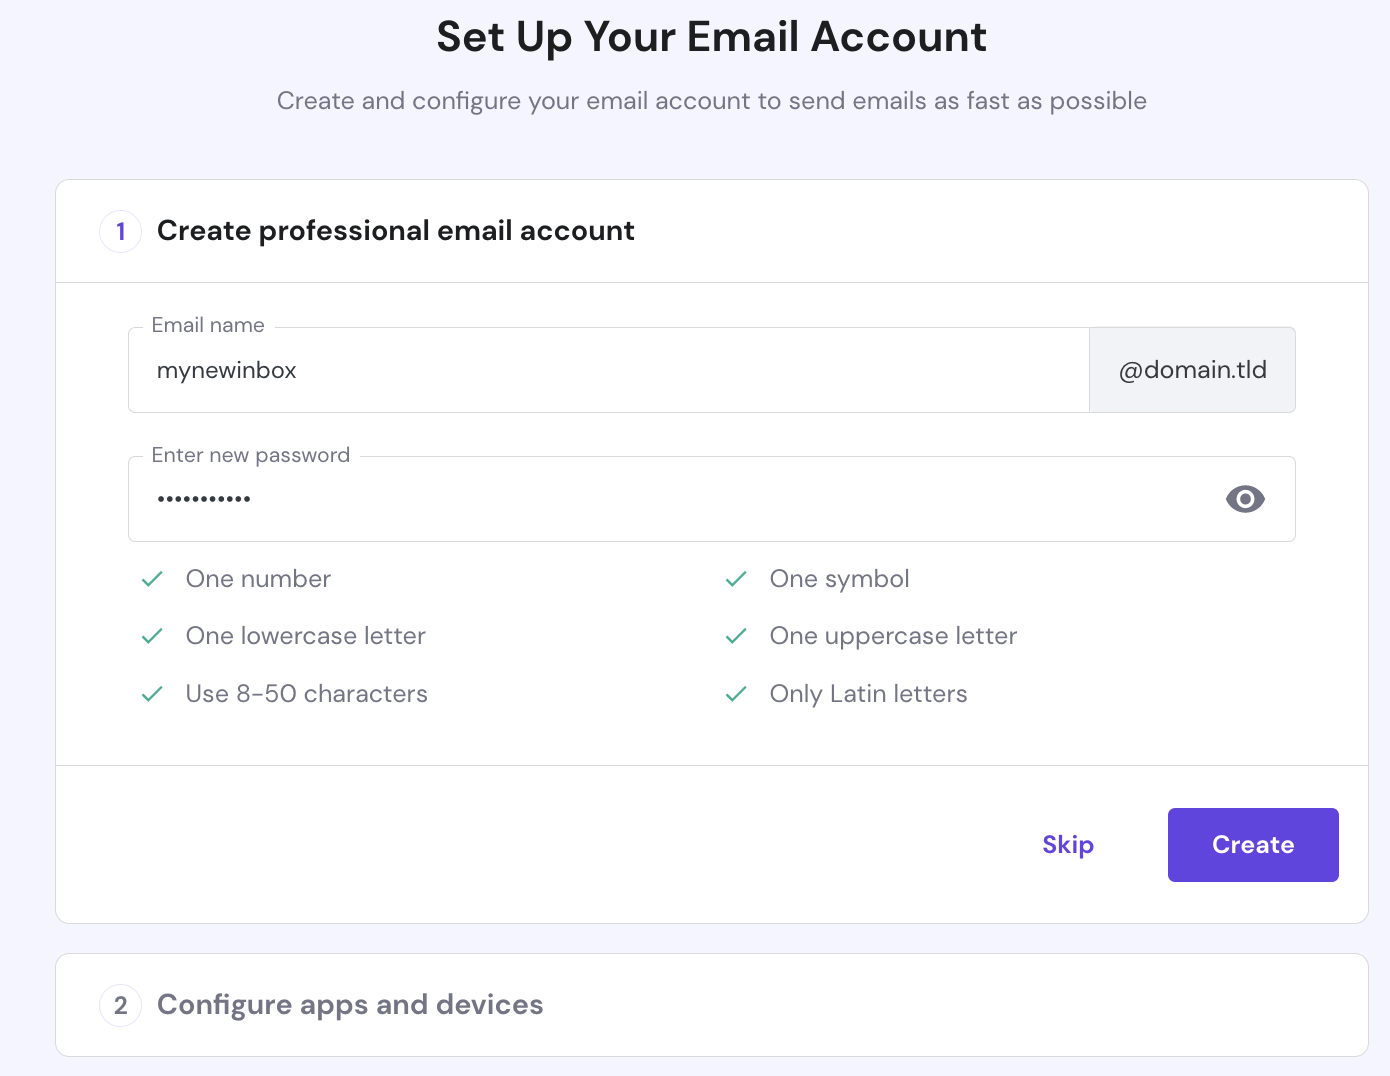
Step 6: Create Your Gmail Account
With the DNS MX Records set up correctly, you can now create your Gmail account using your company domain. Go to the G Suite Admin Console, log in with your newly created G Suite account, and select the option to add a new user. Fill in the required details, including the desired email address and password, and click on the create button. Congratulations! You just created your Gmail account with your company domain.
Step 7: Access Your Gmail Account
Once your account is created, you can access your Gmail account in two ways. The first option is to go to gmail.com and log in using your newly created email address and password. The second option is to visit the G Suite Admin Console, and under the “Users” section, locate your account and click on the option to “Sign in to Gmail.”
Step 8: Customize Your Gmail Account
Now that your Gmail account is set up, take some time to customize it according to your preferences. Explore the various settings available, such as email filters, signature, theme, and more. Make sure to update your display name and upload a professional profile picture to enhance your email’s professionalism.
Step 9: Set Up Email Forwarding (Optional)
If you prefer to manage your emails using a different email client or platform, you can set up email forwarding from your Gmail account. Access the Gmail settings, go to the “Forwarding and POP/IMAP” tab, and enable email forwarding. Enter the email address to where you want your Gmail emails to be forwarded. You can choose to keep a copy of forwarded messages in your Gmail inbox or automatically mark them as read.
Step 10: Enjoy Your Professional Email
Congratulations! You have successfully created a Gmail account using your company domain. Now, you can enjoy the benefits of having a professional email address that enhances your brand image and increases credibility in your business communications.
Step-by-Step Guide: Creating a Google Domain Email for Your Business
In conclusion, setting up a Gmail account using your company domain is a straightforward process. By following this step-by-step guide, you can create a professional email address that leverages the power of Gmail’s features while reinforcing your brand identity. Don’t miss out on the opportunity to maximize the impact of your business emails with a personalized professional email address.
[ad_2]