[ad_1]
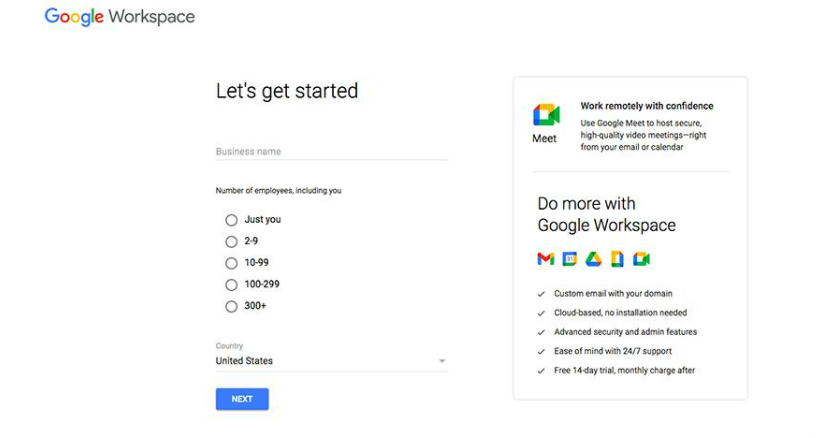
Creating a Google account using your business email is a straightforward process that can provide immense benefits for your business. Google offers a range of services and tools that can facilitate communication, collaboration, and productivity within your organization. In this step-by-step guide, we will walk you through the process of creating a Google account using your business email.
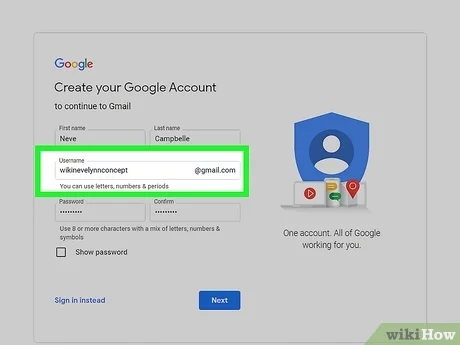
Step 1: Start by visiting the Google Accounts website. You can access this page by typing “Google Accounts” into your search engine or by going directly to accounts.google.com. Click on the “Create account” button to begin the registration process.
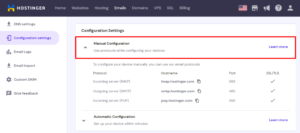
Step 2: On the account creation page, you will be asked to enter your business email address in the provided field. Make sure to input your complete email address correctly to ensure account verification and communication.
Step 3: Once you have entered your email address, you will be prompted to create a password. It is essential to choose a strong, secure password to protect your account from unauthorized access. Google generally recommends a combination of letters, numbers, and symbols for enhanced security.
Step 4: After entering your password, click on the “Next” button to proceed. You will then be asked to provide your first and last name, which will be associated with your Google account. It is recommended to use your real name to ensure consistency and professionalism.
Step 5: Once you have filled in your name details, click on the “Next” button. You will be directed to a new page where you will be asked to verify your business email address. Google will send a verification code to the email address you provided. Check your inbox and retrieve the verification code.
Step 6: Return to the Google account creation page and enter the verification code in the provided field. Double-check that you have entered the code correctly to avoid any errors or delays.
Step 7: Click on the “Verify” button to validate your email address. If the code is correct, Google will confirm that your business email has been successfully verified. You will then be redirected to the main Google account page.
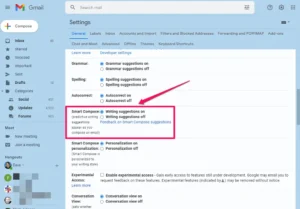
Step 8: On the Google account page, you can personalize your account settings and preferences. Google provides various options to customize your experience, such as language settings, privacy settings, and notification preferences. Take your time to explore these options and select the ones that suit your requirements.
Step 9: Once you have adjusted your account settings, you will have access to a range of Google services and tools. Some of the most popular services include Gmail, Google Drive, Google Calendar, Google Docs, and Google Sheets. Feel free to explore these tools and familiarize yourself with their functionalities.
Step 10: To get the most out of your Google account, consider integrating it with other business applications and software. For example, you can synchronize your Google Calendar with your project management tool or connect your Gmail account to a customer relationship management (CRM) system. These integrations can streamline workflows and enhance productivity.
Creating a Google account using your business email opens up a plethora of possibilities for your organization. From seamless collaboration to efficient communication, Google’s suite of services can significantly improve your business operations. By following this step-by-step guide, you can create your Google account quickly and begin harnessing the power of Google’s tools for your business’s success.
[ad_2]